
API Authentication
In this guide, we will walk through setting up your first application and sending in your first API request!
First, we need to create a new application:
-
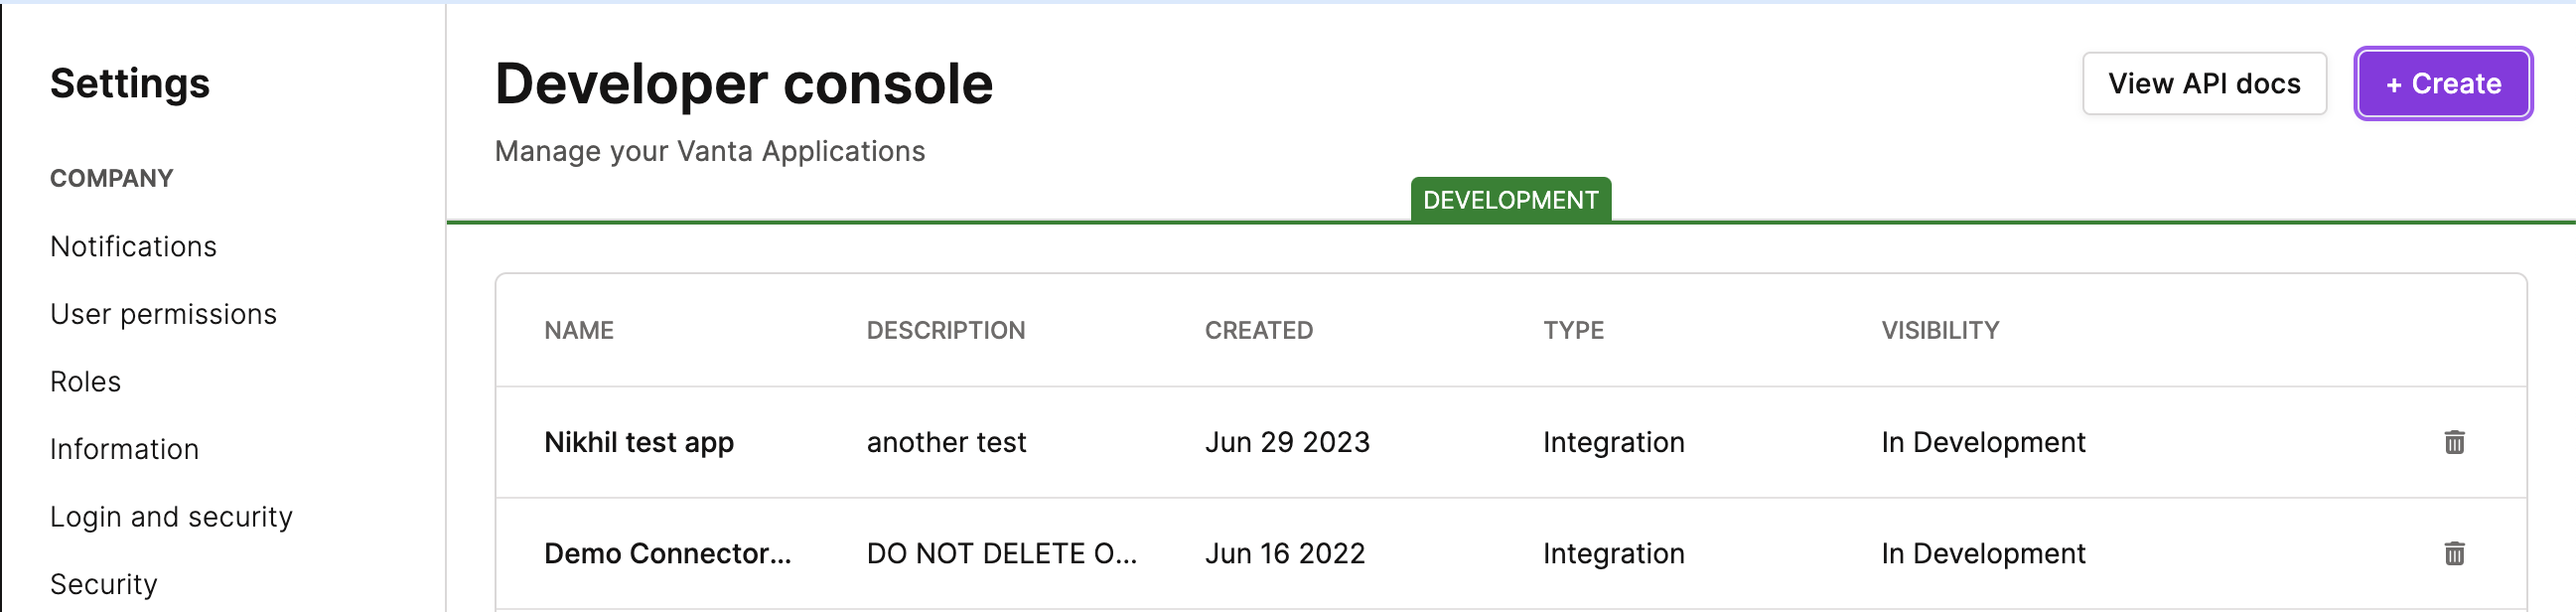
Login to Vanta and navigate to the "Settings" page > then "Developer Console" and then click "Create":
-
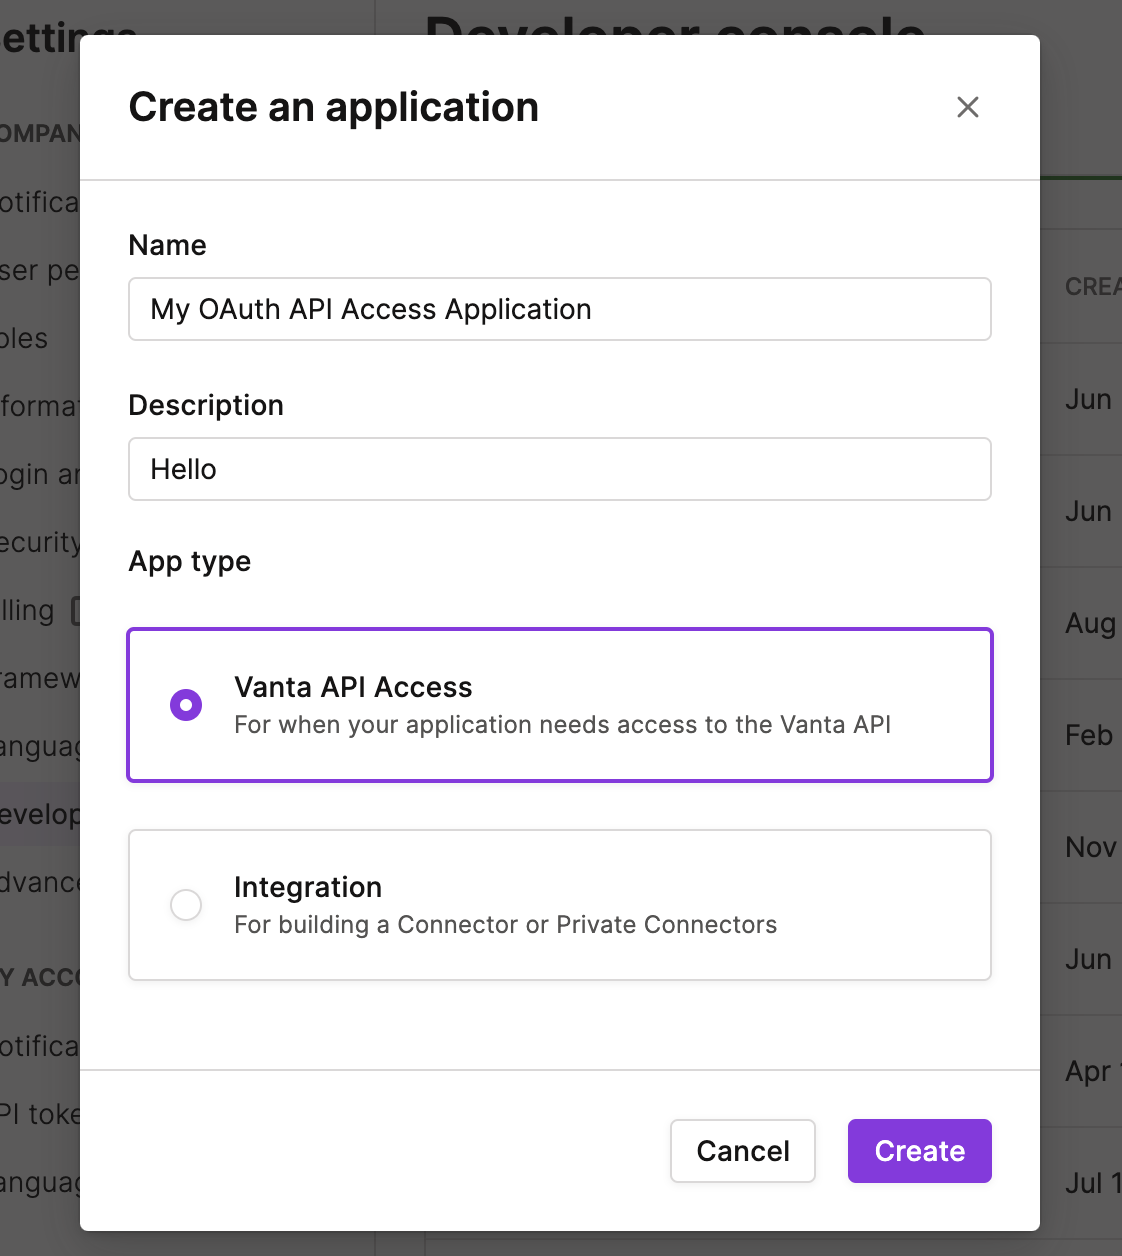
Give your application a name and description and then select "Vanta API Access" for the app type:
-
You will see the OAuth client ID was autogenerated for us. We will use this in our first API request shortly. We now need to generate the OAuth client secret, so let's click on "Generate client secret".
Note: Only share these two values with trusted team members, as these can be used together to authenticate to the Vanta API. You can always regenerate a new client secret if you want to rotate credentials for security reasons.

Now that we have our credentials prepared, the next step is to retrieve our API token with the proper permission scopes. For this example, we will be using the following details:
- POST to the endpoint https://api.vanta.com/oauth/token
- Header: Content-Type | application/json
- Body:
{
  "client_id": "your_client_id",
  "client_secret": "your_client_secret",
  "scope": "vanta-api.all:read vanta-api.all:write",
  "grant_type": "client_credentials"
}
Here is an example cURL (replace the client id and secret with the values you generated from previous steps):
curl --location 'https://api.vanta.com/oauth/token' \
--header 'Content-Type: application/json' \
--data '{
  "client_id": "your_client_id",
  "client_secret": "your_client_secret",
  "scope": "vanta-api.all:read vanta-api.all:write",
  "grant_type": "client_credentials"
}'
const myHeaders = new Headers();
myHeaders.append("Content-Type", "application/json");
const raw = JSON.stringify({
"client_id": "vci_TOKEN",
"client_secret": "vcs_f64356_TOKEN",
"scope": "vanta-api.all:read vanta-api.all:write",
"grant_type": "client_credentials"
});
const requestOptions = {
method: "POST",
headers: myHeaders,
body: raw,
redirect: "follow"
};
fetch("https://api.vanta.com/oauth/token", requestOptions)
.then((response) => response.text())
.then((result) => console.log(result))
.catch((error) => console.error(error));const axios = require('axios');
let data = JSON.stringify({
"client_id": "vci_TOKEN",
"client_secret": "vcs_f64356_TOKEN",
"scope": "vanta-api.all:read vanta-api.all:write",
"grant_type": "client_credentials"
});
let config = {
method: 'post',
maxBodyLength: Infinity,
url: 'https://api.vanta.com/oauth/token',
headers: {
'Content-Type': 'application/json'
},
data : data
};
axios.request(config)
.then((response) => {
console.log(JSON.stringify(response.data));
})
.catch((error) => {
console.log(error);
});
import requests
import json

url = "https://api.vanta.com/oauth/token"

payload = json.dumps({
  "client_id": "vci_TOKEN",
  "client_secret": "vcs_f64356_TOKEN",
  "scope": "vanta-api.all:read vanta-api.all:write",
  "grant_type": "client_credentials"
})
headers = {
  'Content-Type': 'application/json'
}

response = requests.request("POST", url, headers=headers, data=payload)

print(response.text)
The response should look like this (where your token is stored in the access_token property):
{
    "access_token": "vat_your_token",
    "expires_in": 3599,
    "token_type": "Bearer"
}
Note: Your access_token is only valid for 1 hour but can be refreshed on any cadence you prefer!
We can now use our freshly generated access_token to authenticate to other API endpoints!
Updated 12 days ago